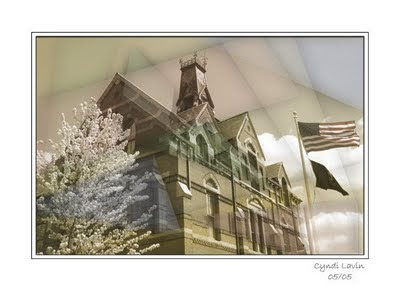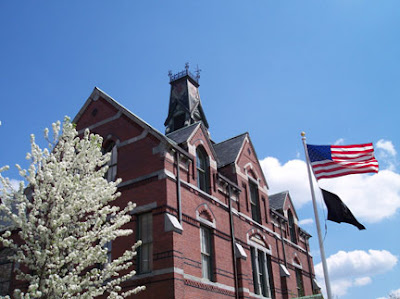
I found my notes on how I made the fractured photographs! I'm so happy, because I'd really like to do some more, but it's been soooo long! It turns out it's not too difficult, but I had definitely forgotten about a few of the fine points that make it smoother. All these steps are done in Photoshop.

1. Make a copy of your background image and colorize it using the hue and saturation sliders.
2. Select sections with the polygon lasso tool, and use Ctrl-J to place each on its own layer.
3. Shift the color slightly and or move the selection slightly for each layer.
4. Turn off all but one layer at a time. Select the layer, choose inverse, feather about 50 pixels, and hit the delete key. Add a drop shadow effect to each.
5. Go back and adjust the opacity for each layer so that overlapping layers will show through.
Copyright 2009 Cyndi Lavin. Not to be reprinted, resold, or redistributed for profit. May be printed out for personal use or distributed electronically provided that entire file, including this notice, remains intact.
Technorati Tags:mixed media,collage,assemblage,digital art,photography,altered books,art journals

Comments
That is gorgeous. I'm not sure I understand each step, but I can't wait to try.
When you say, use the polygonal tool to create selections - is that where the beautiful background geometric lines come from? I love the effect.
As you work through it, if something isn't clear, just drop me a question...I'll do my best :-)