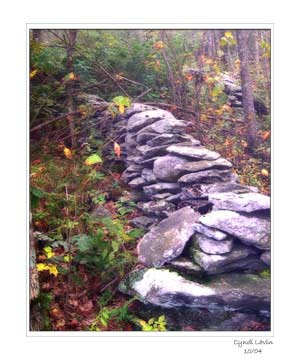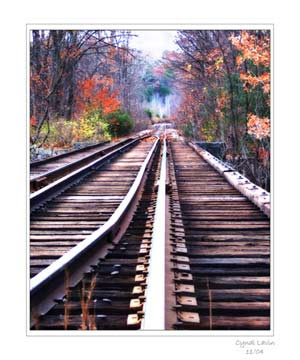

Here are the basic steps:
1. Load your picture and duplicate it in the layers palette.
2. Using a levels adjustment layer, lighten the duplicate layer a lot. You will be able to keep adjusting this amount if you don’t like the results.
3. Apply the gaussian blur filter. I usually start with 20 pixels or so and adjust as needed.
4. Select the multiply blending mode for the duplicate layer.
5. You can now adjust the lightness on the adjustment layer, the amount of blur, and /or the opacity of the layer until you achieve the look you want.
Copyright 2006 Cyndi Lavin. Not to be reprinted, resold, or redistributed for profit. May be printed out for personal use or distributed electronically provided that entire file, including this notice, remains intact.
Technorati Tags:mixed media,collage,assemblage,digital art,photography,altered books,art journals

Comments