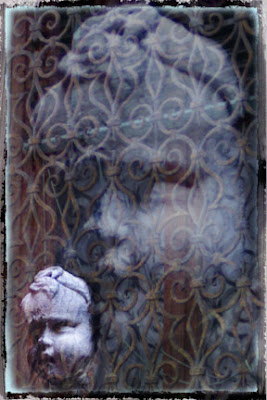
Since we’re coming up on the Halloween season, I’ve been thinking about spooky stuff a little bit. Last week, Diane challenged me to show her how I would use my texture photos in a real piece. OK, Diane, I’m in!
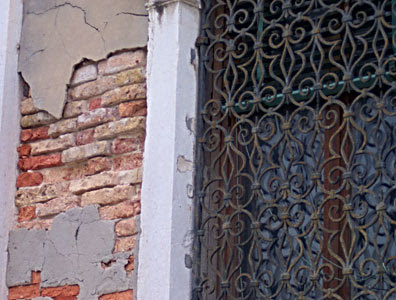
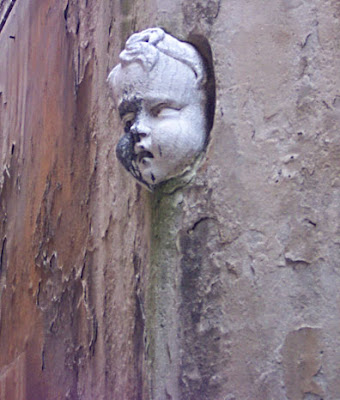
This is going to be a several step project, and the first part is digital. In a week or so, I’ll be able to share the finished physical project and all of the steps, but first things first. I decided to use images from the bunch that I shared last week:


My files were digital to start out with, so I just worked with them as is in Photoshop. If you have physical film shots that you’d like to use, simply scan the images and open them in your image editing software.
Here are my steps, as near as I can reconstruct them, for merging these images into a new composite.
1. Open images, and crop the parts you wish to use. Resize as needed so that all images will be compatible. I usually size everything to 300 pixels per inch when I intend to eventually print the image out. You can see that in the examples above, I used just the window grate from the one picture, and the closely cropped face from the other.
2. Start a new file and open the image you want to use as the background. Copy it so you won’t be working on your original image. I chose the grate for the background.
3. Move the other image on top of the first. Play with the blending modes until it looks the way you want. I used “Hard Light” and chose an opacity and fill of about 75% each. It gave the face the ghostly look, with the grate seeming to be engulfed within it.
4. Shrink your second image and place it in a new layer on top of the layer stack. I used “Hard Light” again, but this time I allowed the opacity to stay at 100% so that the image floated on the top. I also went into the layer and erased most of the image that surrounded the face so that there wouldn’t be a noticeable rectangle around it.
5. I created a grungy-looking black frame and filled the middle of it with aqua (the color that seeps through in a Polaroid image transfer). This layer was inserted under the other three image layers, and I erased around the edges of the other layers to allow the frame and some of the color show through.

Next week, I hope I’ll have my little fabric collage all finished so I can show you want I ended up doing with Ghost in the Wall.
Copyright 2008 Cyndi Lavin. Not to be reprinted, resold, or redistributed for profit. May be printed out for personal use or distributed electronically provided that entire file, including this notice, remains intact.
Technorati Tags:mixed media,collage,assemblage,digital art,photography,altered books,art journals

Comments