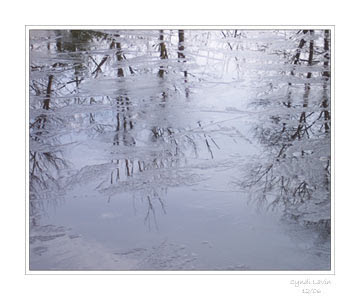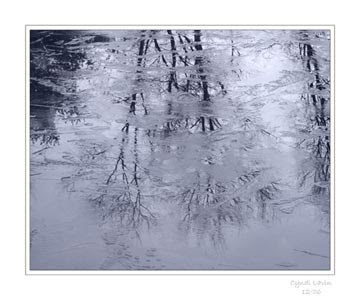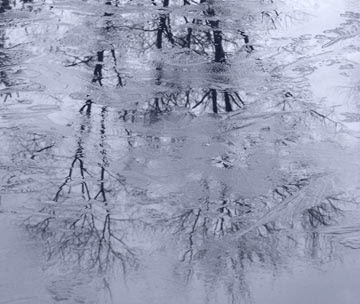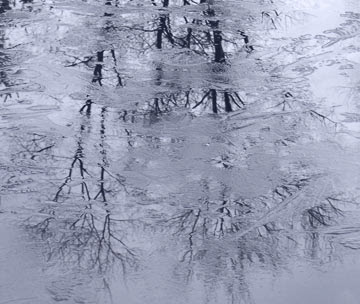

Here are two of my photos that show ice just in the beginning phases of crystallizing on a local pond. Since the patterns the ice was forming were so subtle, I decided to add an embossed layer to each photo with Photoshop to enhance that effect.

1. Here’s a close-up shot of some of the detail from one photo. The resolution of our computer screens is very low, so you’ll have to take my word for it that the photo is much clearer and sharper in person!
2. Use the layer palette in Photoshop to add an embossed layer. Copy your image and desaturate it. Go to filter>stylize>emboss, and choose your settings. I usually use a couple of pixels for height at 500%.

3. Change the blending mode to “overlay” and play with the opacity slider until you like the effect. I’ve used approximately 40% opacity here. I don’t know that you can really see the difference in these low-resolution photos or not. But play with it in Photoshop or your favorite imaging software and I promise you will see a big difference!
Copyright 2007 Cyndi Lavin. Not to be reprinted, resold, or redistributed for profit. May be printed out for personal use or distributed electronically provided that entire file, including this notice, remains intact.
Technorati Tags:mixed media,collage,assemblage,digital art,photography,altered books,art journals

Comments